:robot: :eye: READY: REal-time Ai Diagnosis for nYstagmus
:eyeglasses: Overview
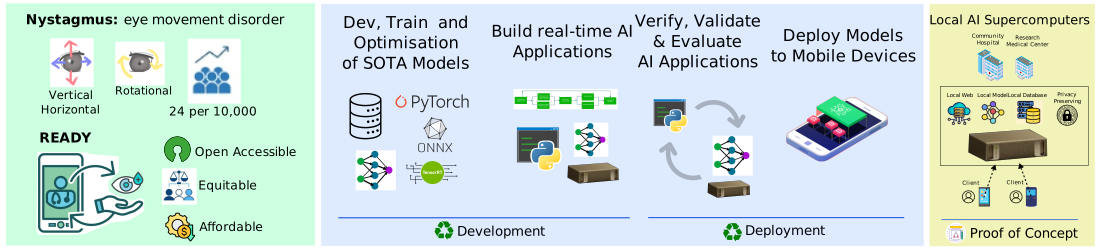
This repository contains documentation and code for the project READY: REal-time Ai Diagnosis for nYstagmus.
:school_satchel: Getting started
- :page_facing_up: Docs Getting started, debugging, testing, demos.
- :floppy_disk: Data: openEDS; mobious; novel
- :computer: Requirements holoscan-sdk, CUDA; apis; apis_webrtc_ready
- :brain: Models developed in RTXA2000-8GB and trained in A100-80GB;
- 🤗 Models in HuggingFace here.
:nut_and_bolt: Installation
CONTRIBUTING is a good starting point for setting up the GitHub repository, managing dependencies, and guiding you through the development installation and debugging process.
:recycle: Dev installation
uv venv --python 3.12
source .venv/bin/activate
uv pip install -e '.[test,learning,model_optimisation]'
uv pip list --verbose
uv run pre-commit run -a
See further details for installation here.
:brain: Model development
Run and/or edit bash scripts train that runs train_mobious.py with config in the terminal.
See further details here
bash scripts/models/train_unet_with_mobious.bash
:clapper: Demos
Python-based application were implemented with holoscan-sdk, where holoscan-sdk was built on host Laptop computer with NVIDIARTXA2000-8GB. The UNet models were trained in cricket with A100-80GB, using either ~27K images of 1 channel or ~1K colour images of 3 channels.
| Animation(s) | API, Data, Model(s) |
|---|---|
webrtc_client.py with model _weights_15-12-24_07-00-10-sim-BHWC.onnx, running drop_frames_op at different PeriodicCondition(self, recess_period=period_ns) 1 to 30 Hz and improving backpressure mechanism. The following animation was recorded using drop_frame_operator period condition of branch_hz = 15 using a mobile phone as the client where image resolution with the default resolution with tensor shape of (640x480xch3) 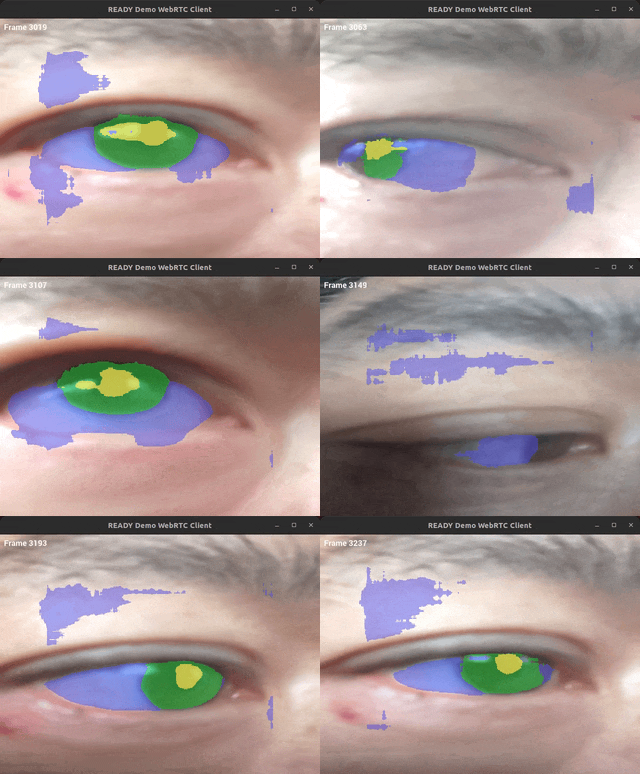 |
:nut_and_bolt: Launch & debug :hourglass: flowbenchmarking :hourglass_flowing_sand: glass2glass_latency |
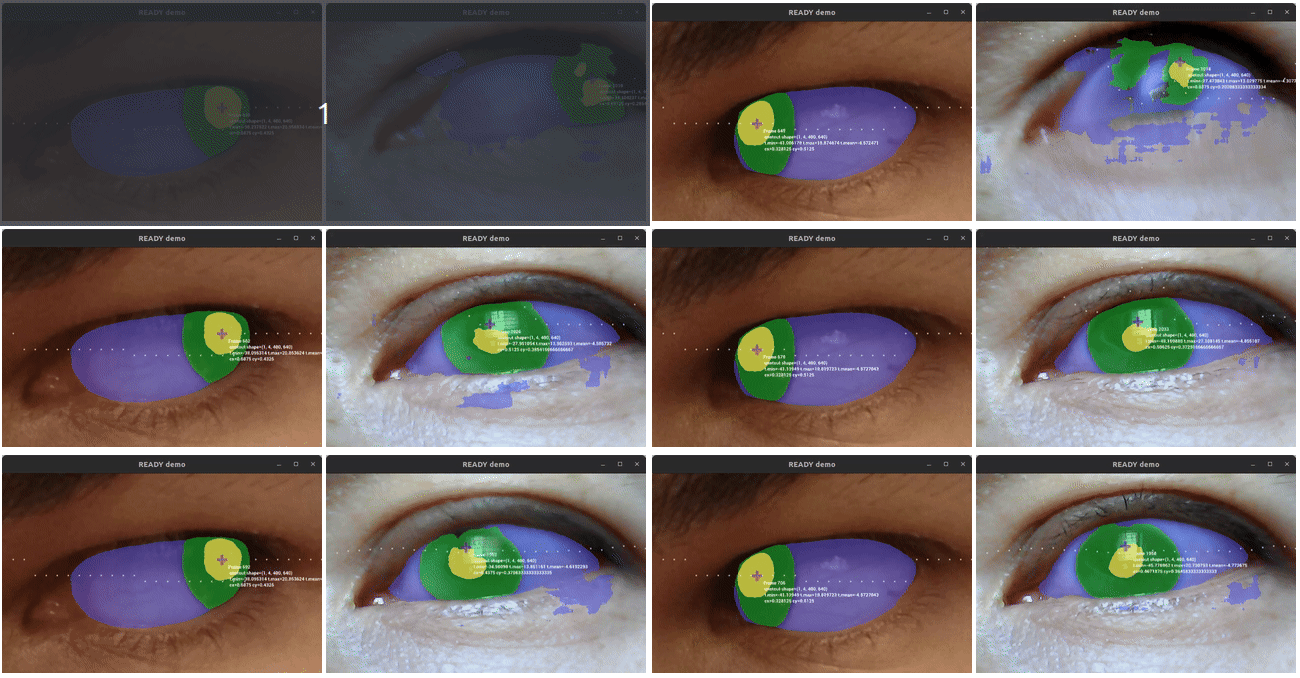 ready.py with model _weights_10-09-24_06-35-14-sim-BHWC.onnx trained with ~1K images and tested with (right) three frames repeated 10 times each to create a 30fps video and (left) with v4l2 ready.py with model _weights_10-09-24_06-35-14-sim-BHWC.onnx trained with ~1K images and tested with (right) three frames repeated 10 times each to create a 30fps video and (left) with v4l2 /dev/video4 usb-endoscope camera with resolution of width640xheight480) |
:nut_and_bolt: Launch & debug :floppy_disk: Mobious dataset :brain: Models |
See more demos here. See apis for detailed instructions on running applications.
:octocat: Cloning repository
- Generate your SSH keys as suggested here
- Setup you commit signature verification as shown here
- Clone the repository by typing (or copying) the following lines in a terminal
mkdir $HOME/repositories/oocular && cd $HOME/repositories/oocular
git clone git@github.com:oocular/ready.git
Building docs locally and adding new sub pages
To add new pages to the docs, you can modify the nav section
of mkdocs.yml to refer to new subpages added under
a new folder within docs/ e.g. docs/new-sub-page where
you can add .md files:
yaml
nav:
  - Home: index.md
  - Getting Started:
    - Installation: getting-started/installation.md
  - New sub page:
    - Instructions: new-sub-page/README.md
If you build the docs locally you can review what the site looks like on localhost:8000 with the following code:
sh
uv sync --only-group docs
uv run nox -s docs -- serve